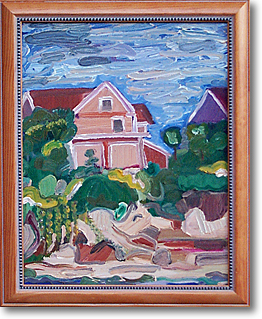
Whether you are an artist trying to sell your work or a collector trying to insure your priceless possessions, good photographic technique will often be called upon as an integral part of your job.
Getting a good photo of your artwork can often mean the difference between selling and not selling your painting. This task can seem daunting at first. However, if you work at it with the following principles in mind, you will be sure to get the best images of your best paintings.
This article illustrates how to record your images with a digital camera.

The first step in photographing your artwork is to get everything together. This involves:
Once you've checked these items off your list, or at least are mentally prepared to tackle them when the time comes, you are ready to rock and roll.
Gather any other accessories you might need. These could include a good tripod, a flash unit (if you insist - see next page), or a polarizing filter (great for cutting back glare on a painting behind glass). Batteries become all the more essential if you are shooting with one of those energy-sucking digital cameras; it gets even worse if you enjoy using the LCD monitor as a viewfinder. An AC adapter and an extension cord might be what you need in that case.
One last warning before we get going: before using a glass cleaner to clean glass that is protecting your framed art, make sure it really is glass. If it is Plexiglas - much lighter and more flexible than glass - do not use glass cleaner as this scratches up the surface. A soft cloth and a little warm water - very gently applied - should be as far as you go.
Ready to dive in? Let's go...