To discuss a photo, sign up as a BetterPhoto member or log in.
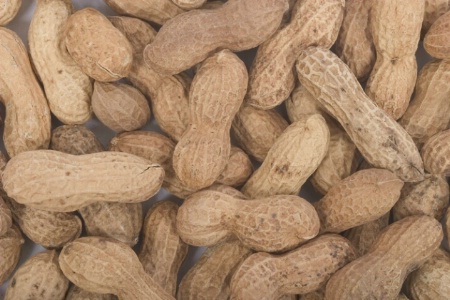
Peanuts - Before
|
|||||||||||
|
|
|||||||||||
BetterPhotoJim.com - Jim Miotke  Contact Jim Miotke Jim Miotke's Gallery |
For this Before and After, I first selected each of the three peanuts, saving each selection for later use. Then I pulled each peanut onto its own layer, using Ctrl-J keyboard shortcut. Selecting each layer, I created a new Adjustment Layer and manipulated the Hue / Saturation. I clicked the Colorize checkbox and adjusted the Hue and Lightness. Then, back in the Layers Palette, I reduced the Opacity of each layer to give the colors a softer, more muted look.
|
||||||||||
|
|
|||||||||||
|
Josh Hudson |
It would have been a little easier to just go to the paintbrush tool and choose hue or color on the pull down tab. You could have then had more control over your color change of the peanuts and wouldn't have that flat matt look from looking through an opacity layer. This will not only give you the ability to color but the ability to control the quality, hue, saturation, and vibrance of the color.
|
||||||||||
|
|
|||||||||||
|
Janet Kinney |
it is a great picture! Very creative.
|
||||||||||
|
|
|||||||||||
|
Dee Augustine |
What a awesome photo. Iv been wanting to learn this tech for a while now. Ill have ta try this :) Thanks
|
||||||||||
|
|
|||||||||||
|
BetterPhotoJim.com - Jim Miotke Contact Jim Miotke Jim Miotke's Gallery |
Thanks all for your comments and suggestions. I appreciate them all. Dee, as Josh points out, there are many paths to creating a similar effect in Photoshop. Have fun experimenting. And remember, as this image was inspired by another image created by Lewis Kemper (see if you can find out which one), you might enjoy taking one of Lewis' Photoshop courses here at BetterPhoto. Have fun!
|
||||||||||
|
|
|||||||||||
|
BetterPhoto Member |
Could this been done with Layer Styles?? regards, Willard
|
||||||||||
|
|
|||||||||||
| Log in or sign up to respond or interact. | |||||||||||