|
Sreedevi Swaminathan |
Scanning Techniques Can anyone give any tips on scanning techniques? I have an Epson 1650 Photo scanner. At first, I was scanning Black and White negs- I was trying to touch up my headshots. And the images came out beautiful, very crisp. But scanning color has rarely worked for me. They always look really grainy, and once I get into PS and increase the magnification, I see it's because there are all these pixels of various different colors intermingled in the image. I'm sure you know what I mean by that. Well, basically, I could spend about an hour through Epson's scanning software changing all the levels, individually tweaking each color, and I'll end up scanning about 5 different versions of the same print, all different colors, densities and contrasts (?). But that doesn't help me much. I notice on this website that all the pictures- at least 95%- are incredibly clear and sharp. I do have my unsharp mask on by the way, but obviously, it's the sharpness that makes all those different pixels of color. And dealing with it on PS is a lot harder. As far as the levels are concerned, I find it's better to get it right when scanning. Any advice at all? Hopefully any of you understand what I'm getting at. I could spend days and days trying to get a print right. I've used levels, scan at 300dpi, unsharp mask, and in PS have gone through levels, unsharp mask, sharpen, color balance, etc. I know this is supposed to be a good scanner, and Epson does have good products in this sense. I just think I really don't get it, and I feel that also I go really far in my manipulations. Also, if anyone knows how to get the Epson scanning window bigger, that may help too. I feel that if I could actually see the image, when I'm changing the levels, I'd be more precise. But the window is so small, it's really difficult to work with. Any help at all would really be appreciated. Thanks- Sreedevi
|
|||||||||||||
|
|
||||||||||||||
|
doug Nelson |
If this is 35-mm color film you're scanning, scan at the highest true resolution your scanner can do (1200 ppi or 2400 ppi) AND at the highest color bit depth (42-bit?) Try doing your Levels or Curves in PS, THEN to go Image/Image Mode and drop the bit depth to 8-bit. Go to Image/Histogram. You should see a graph with no open gaps that show no information for those tones. The graph should be solid from where the tones begin to where they end. OK so far? Can someone else help with the scanning window problem?
|
|||||||||||||
|
|
||||||||||||||
|
Ken Pang |
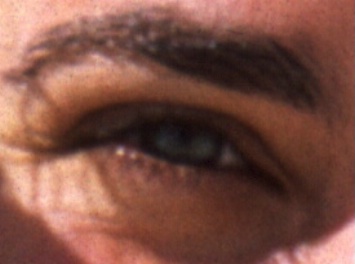
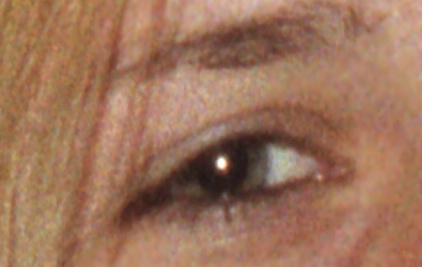
You can see the Velvia one has come up perfectly smooth with no grain. But NPH, being a faster film, you can *just* start seeing grain show. I wanted to find one that I used just consumer film instead of professional, because the effect was even more pronounced, but I couldn't find one handy. These negs were scanned at 4000dpi. By the way, unsharp mask will not help you get better photos. It will just make the contrast between the two pixels even more apparent, giving you an even grainier look. You can use soften slightly to blurr the grain a little. If you use photodeluxe instead of PS, you can also use the "remove grain" function.
|
|||||||||||||
|
|
||||||||||||||
|
This old forum is now archived. Use improved Forum here
Report this Thread |
||||||||||||||